Are you ready to learn how to paint Pottery Barn furniture {successfully}? I was skeptical at first, but not only did it turn out better than we expected, it’s easier than you think and saves a ton of money too.
I am sooo envious of all the DIYers that make painting furniture look so easy. After the success of our DIY built-in bookshelves, we were ready and (somewhat) confident to move on the next home project!
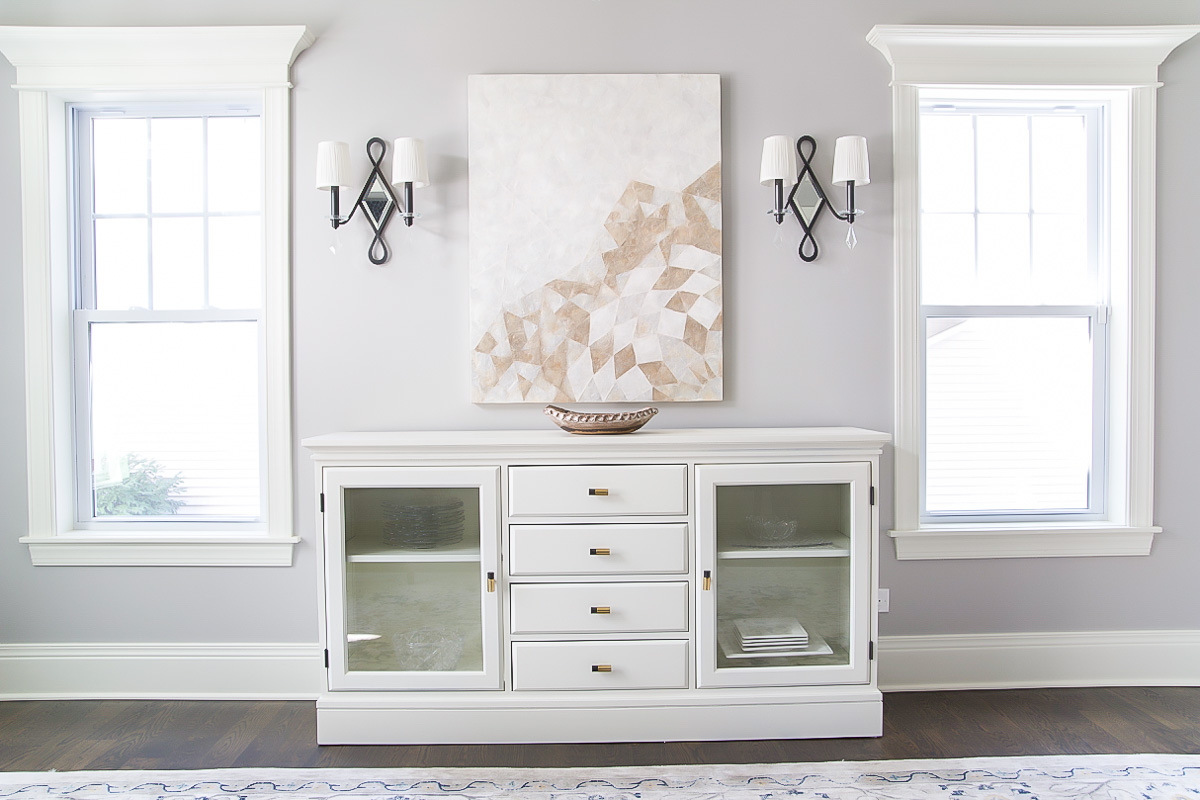
Owning for almost ten years, the black Pottery Barn Tucker Buffet was one of the few pieces that survived the move from the city. I was ready for an upgrade but we’d already invested in so many new pieces of furniture, including a dining room table and chairs from Restoration Hardware.
Building a new home and buying all new furniture was getting costly. And if you caught our foyer design reveal, you know I had to bring in a pro for decorating help.
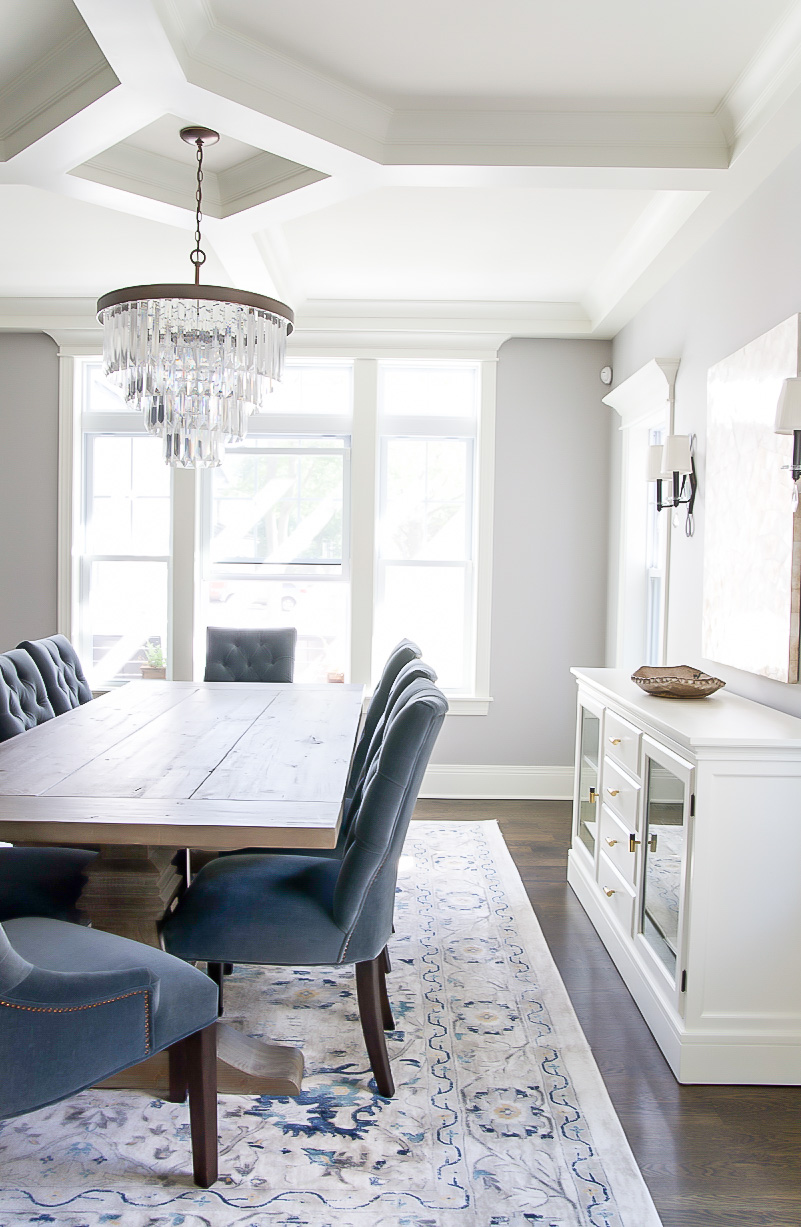
The placement of the buffet in the dining room is against the far wall and blocked visually by the large dining room table when entering the room. After designing the wall specifically for the Tucker buffet, I wasn’t thrilled about possibly replacing.
The original plan was to refresh by changing the hardware and leave it at that. Once Jorie was involved, surprisingly she suggested painting White Dove to offset against the dark wood floors. How smart is that??
I was surprised AND relieved because this was obviously an inexpensive solution. The idea of spending money on a piece of furniture that would go unnoticed, didn’t seem like a smart investment.
Luckily Tim was up for the another DIY project….
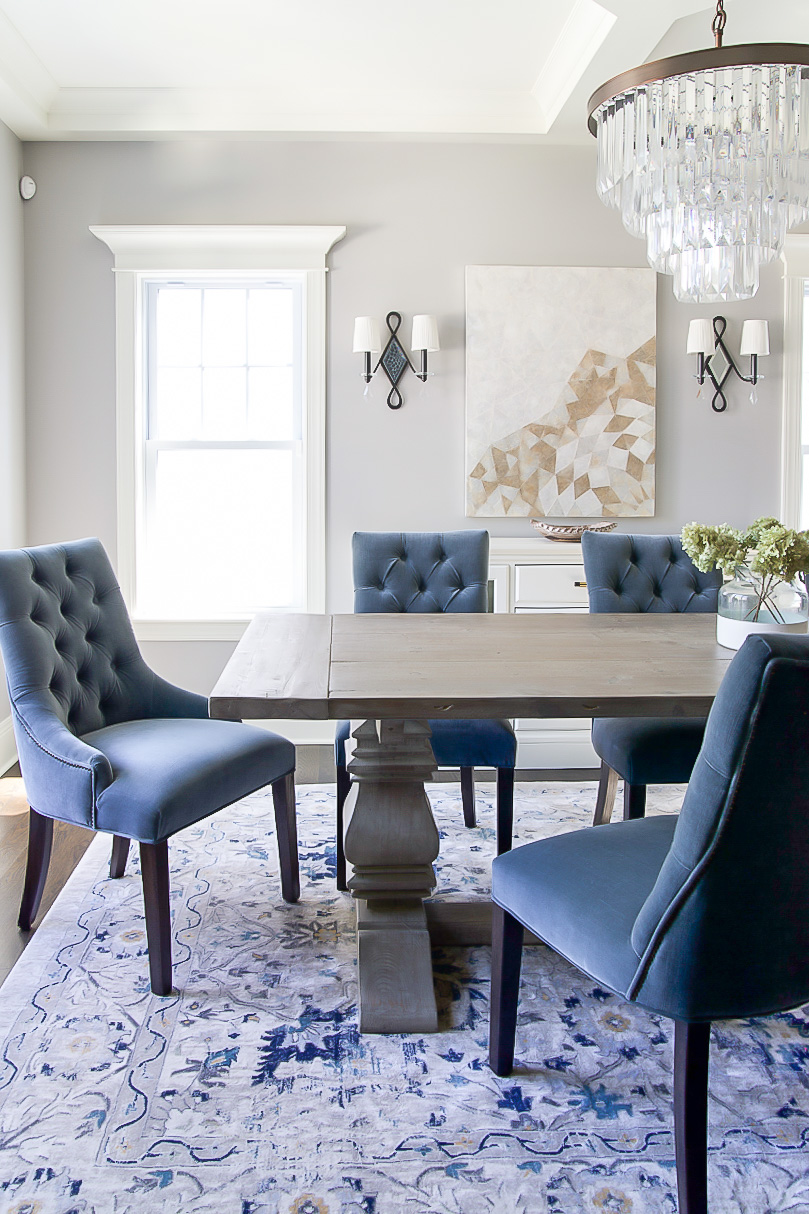
How to Paint Pottery Barn Furniture
The biggest concern painting Pottery Barn furniture is that it’s not 100% wood. Constructed from hardwood and veneers over MDF, this type of material is usually not strong enough to be completely stripped and stained. Painting over the existing black was the best option.
I’m not sure how enthusiastic either of us would have been if sanding the entire buffet was required.
1. Prep
To prep the buffet, we transferred to the garage, placed on a tarp and two pieces of plywood. It’s better that the furniture be slightly elevated so the paint doesn’t stick to the tarp. After removing the existing hardware and drawers, painters tape was applied around the edges of the glass doors and newspaper taped to the glass (not shown).
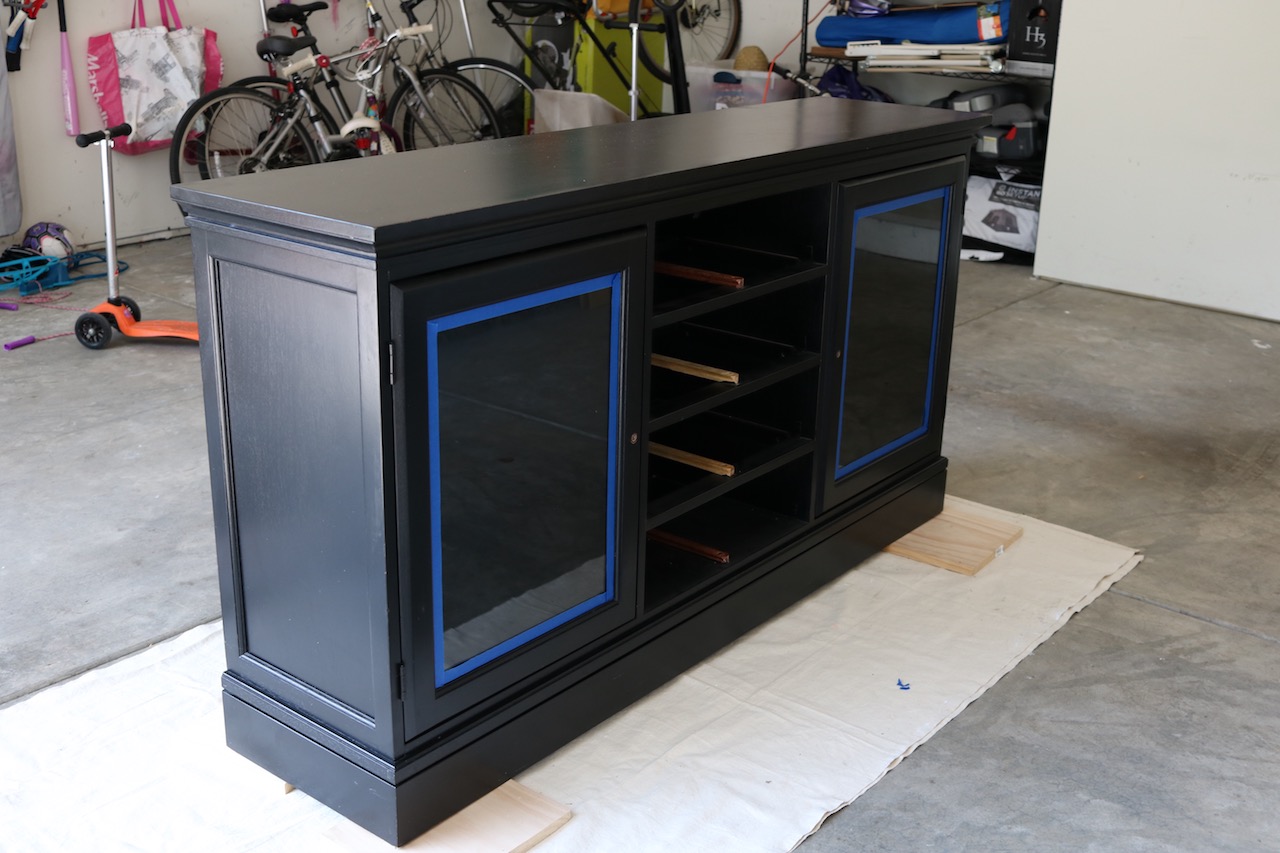
An electric sander was used to buff out a few scratches and indentions from the top to be sure the surface was completely smooth. Removing the paint from the top was relatively easy.
For larger nicks we use wood filler. However, using a lighter paint color helps with hiding indentions. If I get really close I can see a few spots but honestly it’s not noticeable. I wouldn’t spend much time trying to repair unless the wood was chipped away.
2. Prime
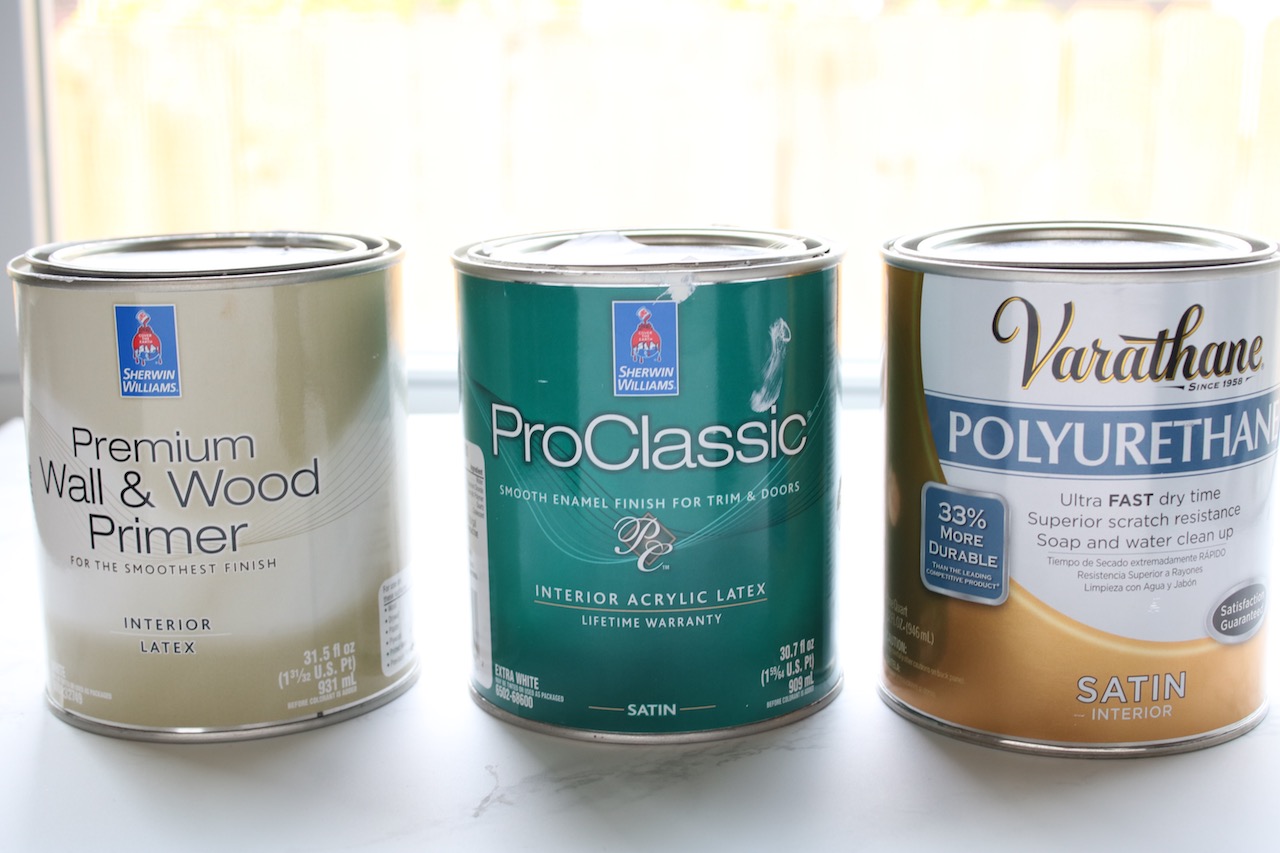
Using a professional grade paint sprayer like this, Tim applied two coats of Sherwin Williams Premium Wall & Wood primer (covering every interior and exterior surface), allowing each to dry in between.
3. Paint
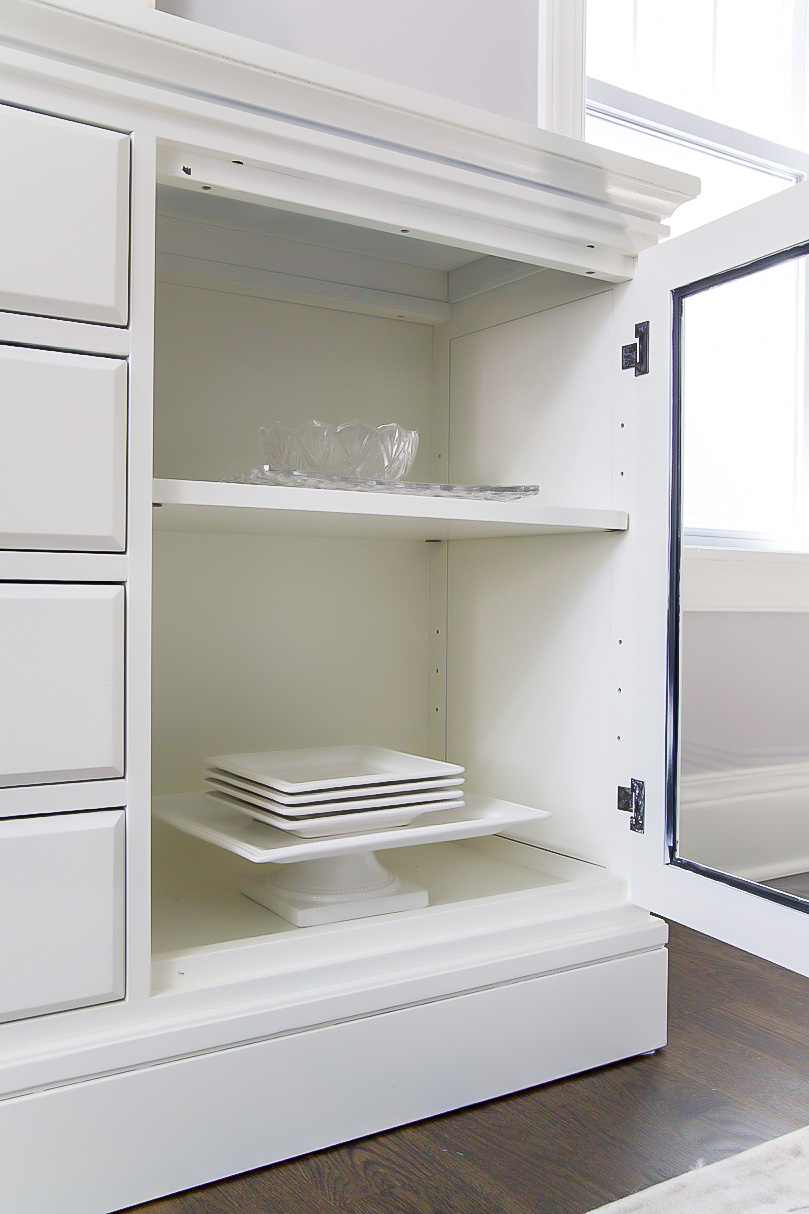
Once the last coat of primer was dry, three coats of Sherwin Williams ProClassic in Satin (color matched to OC-17 White Dove) was applied using the spray gun. Prime and paint was completed day one.
4. Seal
The next morning, we transferred the buffet (with the help of a friend – this thing is sooo heavy) back into the dining room and sealed with two coats of polyurethane satin finish using a smaller roller brush for cabinets.
5. New Hardware
It’s crazy how new hardware can totally refresh and update furniture. I was going for something a little more modern. Brass knobs pulled it all together!
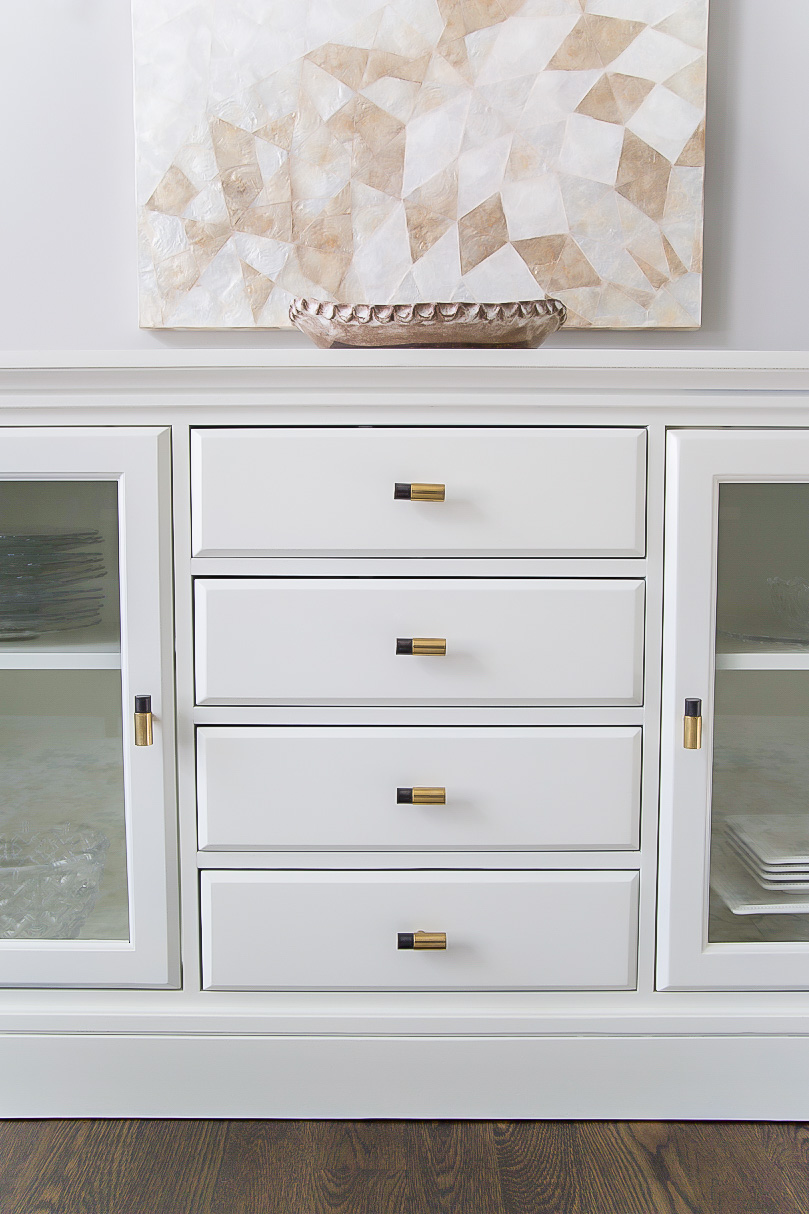
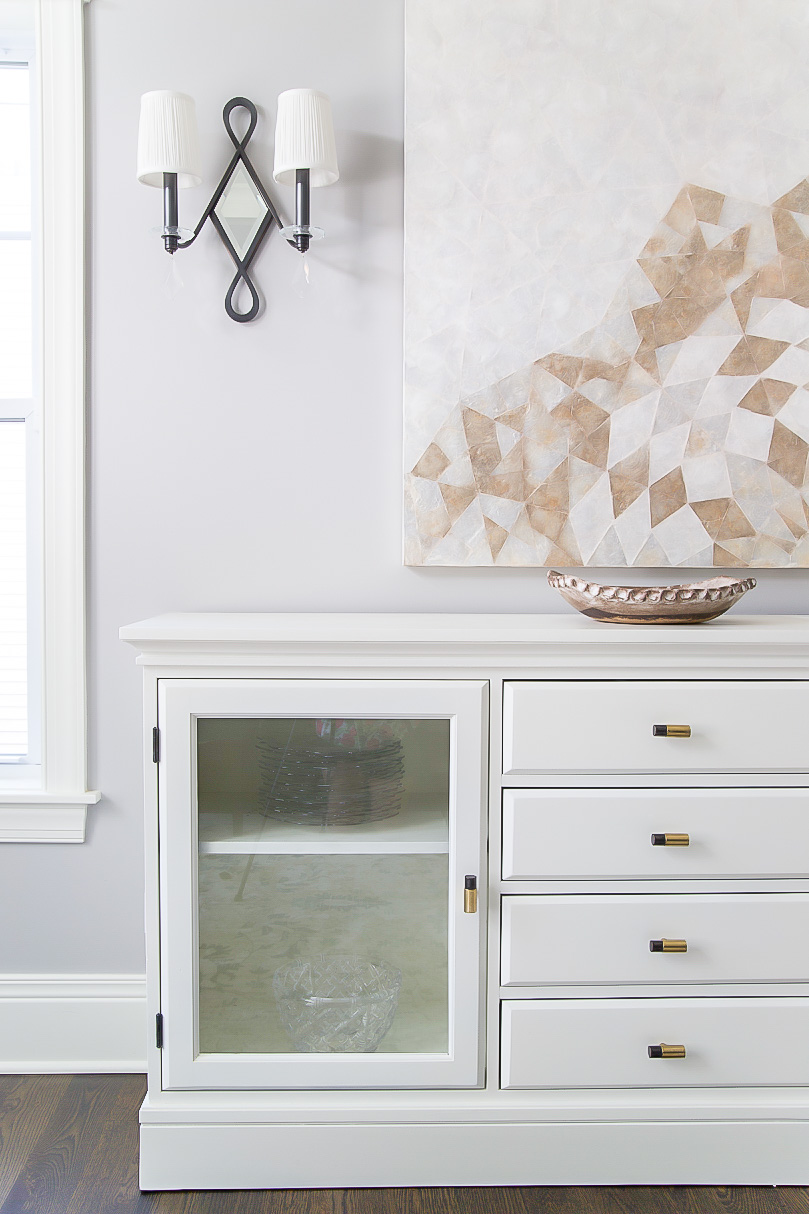
We love the finished look and I was amazed that it turned out so pretty! I know my man has skills but this was his first time painting furniture. I see so many more DIY projects in his near future.
Chic Tip:
- Invest in a high quality paint sprayer. We borrowed from a friend but plan to purchase for future projects.
- Plan for at least two days to complete the project. Sand, prime and paint day one, seal day two.
Have you ever painted furniture? It can really be intimidating at first but once the first project is complete, it’s so rewarding! And you save a ton of moola repurposing.
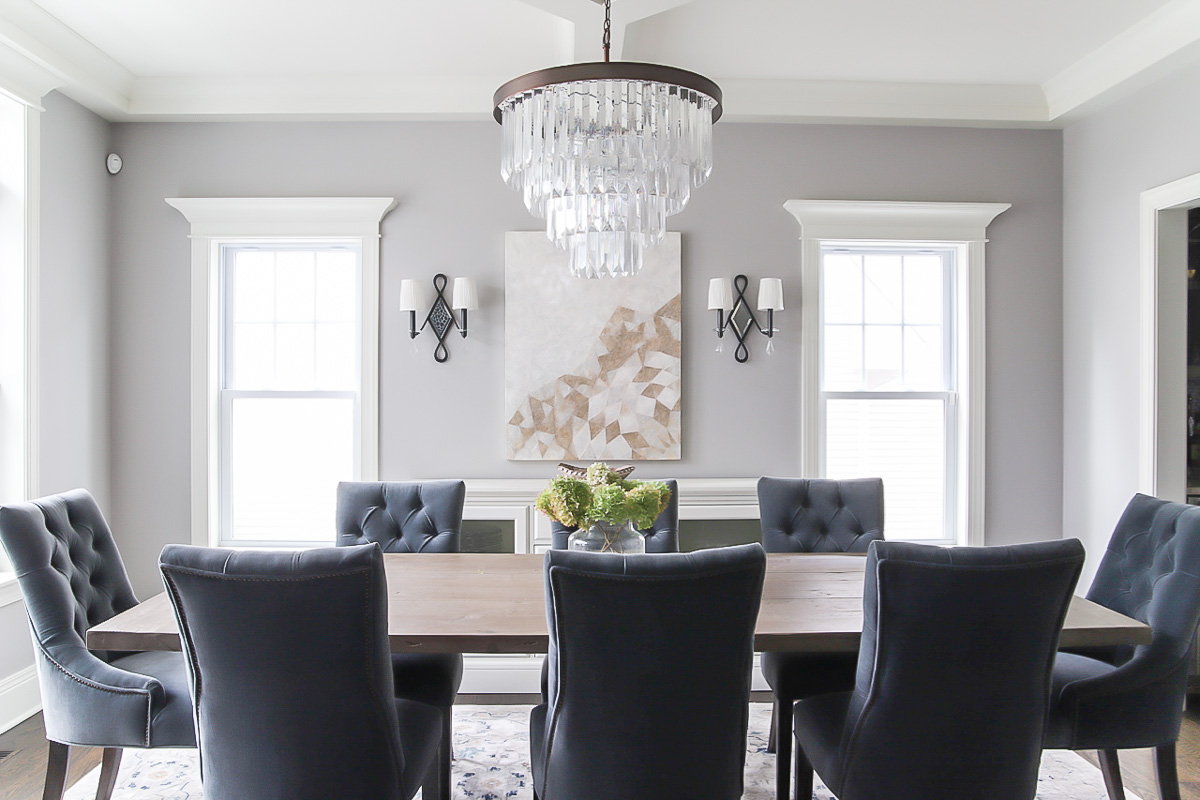
Room Resources:
- Wall Paint Color: Benjamin Moore Smoke Embers 1466
- Trim Paint Color: Sherwin Williams Color Match White Dove
- Buffet Paint Color: Sherwin Williams Color Matched to Benjamin Moore OC-17 White Dove
- 8 x 11’4 Rug
- Interior Designer: Jorie Burns Design


How much sanding did you do on this project? Just enough to rough up the surface or down to the raw wood ?
We only sanded the top to remove the original black paint and the sides to buff out the dents. Not much at all. Super easy!
If the are no dents or scratches, do you think its necessary to do any sanding? Going from expresso to white. Thanks!
I painted a pottery barn bookshelf using a similar paint and painted by hand, but it’s still very tacky and sticky. Did you experience this at all? Have any tips?
Sorry to hear that! We didn’t experience that. What material is the bookshelf and what type of paint did you use? It’s important to let it dry completely before applying multiple coats.
Probably not but be sure to use the primer and let it dry completely. I wanted the top to be as smooth as possible which is why we sanded. Good luck and let me know how it turns out!
I love this idea! I may try the same with an old PBK activity table. I know this post is a couple of years old, but by chance, do you recall where you purchased your dining room rug? I love it too!
Hi! Where is the rug from? It’s gorgeous! Thank you.
I was lucky enough to buy a dinning table with removable leaves and 6 chairs…for 100$!!! the only thing wrong with it was the previous owner painted the top a teal color and I want to repaint it black. Do you happen to know what black I should use? Or how to find out? I see they have paint sticks but don’t see actual paint.
Yours looks amazing thank you for posting this!!
I would sand the previous teal paint off if you can or as much as possible. Use a primer like I listed and a paint for trim and door and you should be good. You can also call your local Sherwin Williams store and they will tell you too. Hope that helps!
Glad you like it! We love it and it looks even better in person. And you can’t beat the price. https://www.anrdoezrs.net/links/4058236/type/dlg/https://esalerugs.com/beige-8×11-stockholm-area-rug-33129062
Glad you liked it! Sorry for the lat response. It turned out much better than expected and the paint has held up. Yes here is the link to our rug and the price is amazing for this size! https://www.anrdoezrs.net/links/4058236/type/dlg/https://esalerugs.com/beige-8×11-stockholm-area-rug-33129062
Did you strip off anything other than I light sanding then paint? Did you apply a top coat?
Can you clarify the sanding process? Did you use an electric hand sander? Did you do the entire top of the table or just small areas in indentations? Thank you
Only light sanding and the primer coat.
Yes we used an electric sander and just the entire top. The rest we used sand paper for the spots and wood filler for any indentions. Hope this helps!